Adding a menu item
Once you have created a menu, add the links and nested items that make up your navigation.
You can follow your category structure or build a completely different hierarchy.
We support menus with up to 4 levels. Due to limitations in BigCommerce, we cannot show more than this on the storefront.
Add the item details
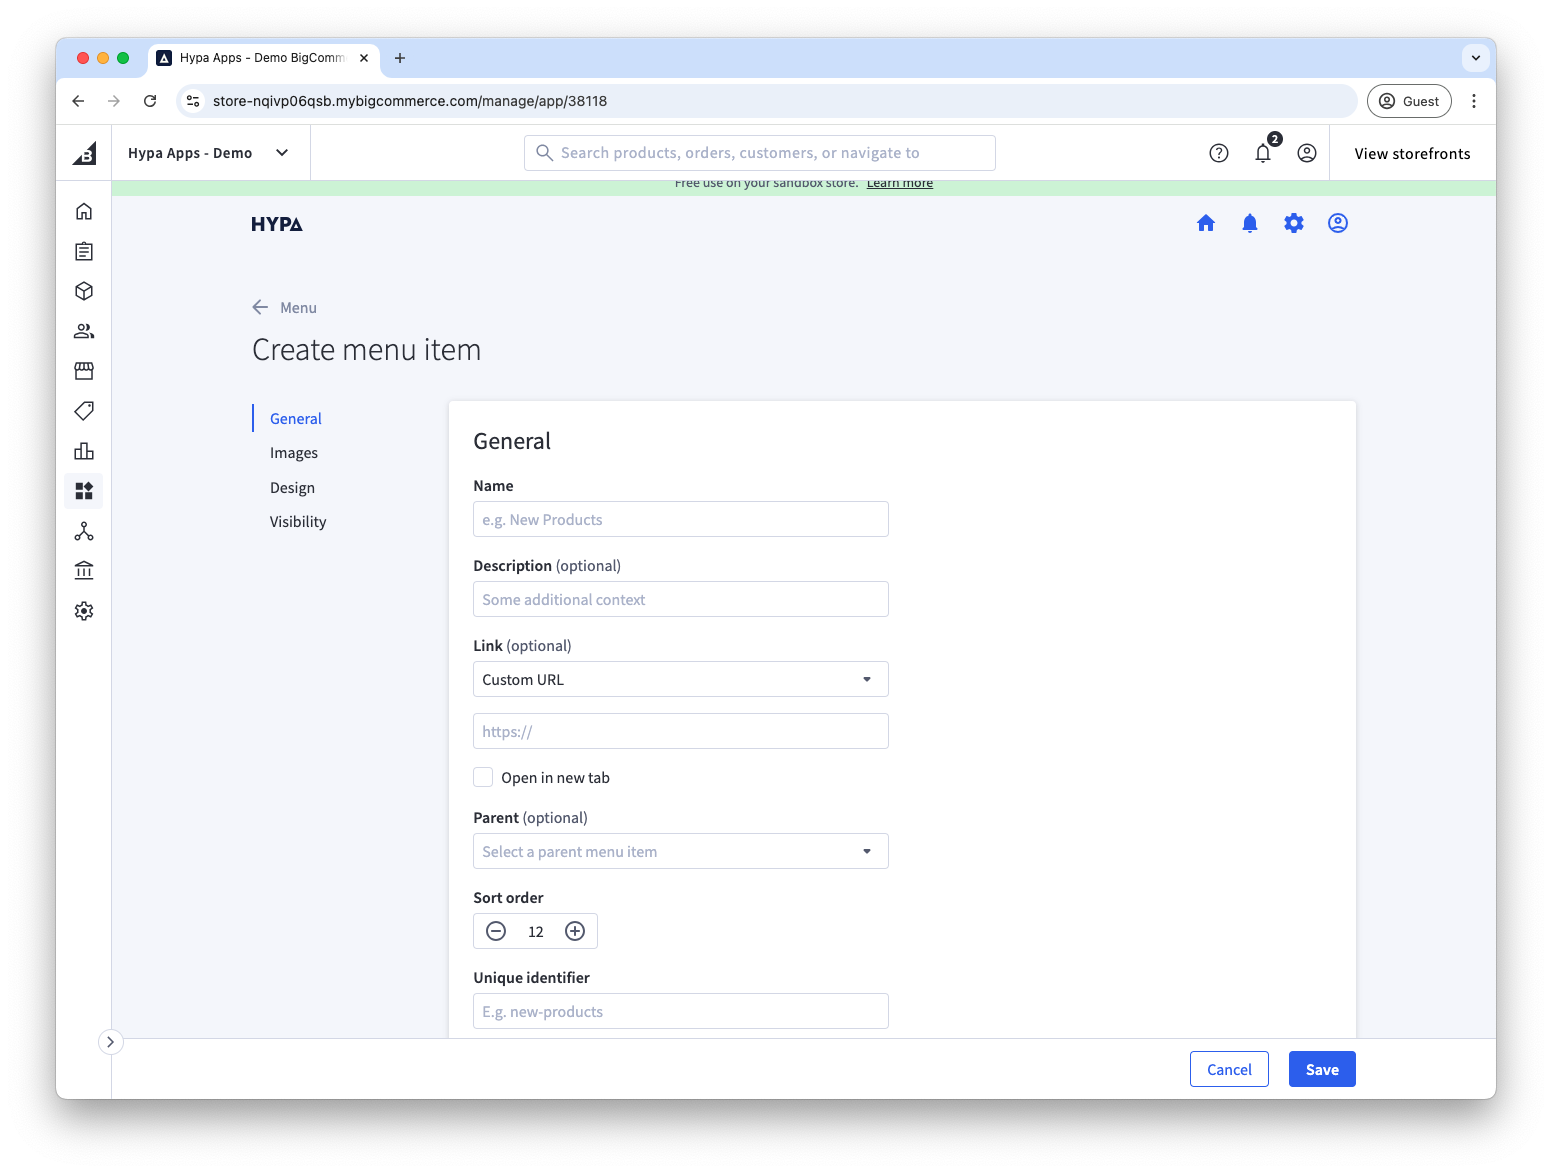
Enter a name for the menu item.
Then enter a link directly, or choose Category, Product, Page or Brand to find an existing storefront destination.
Add an image
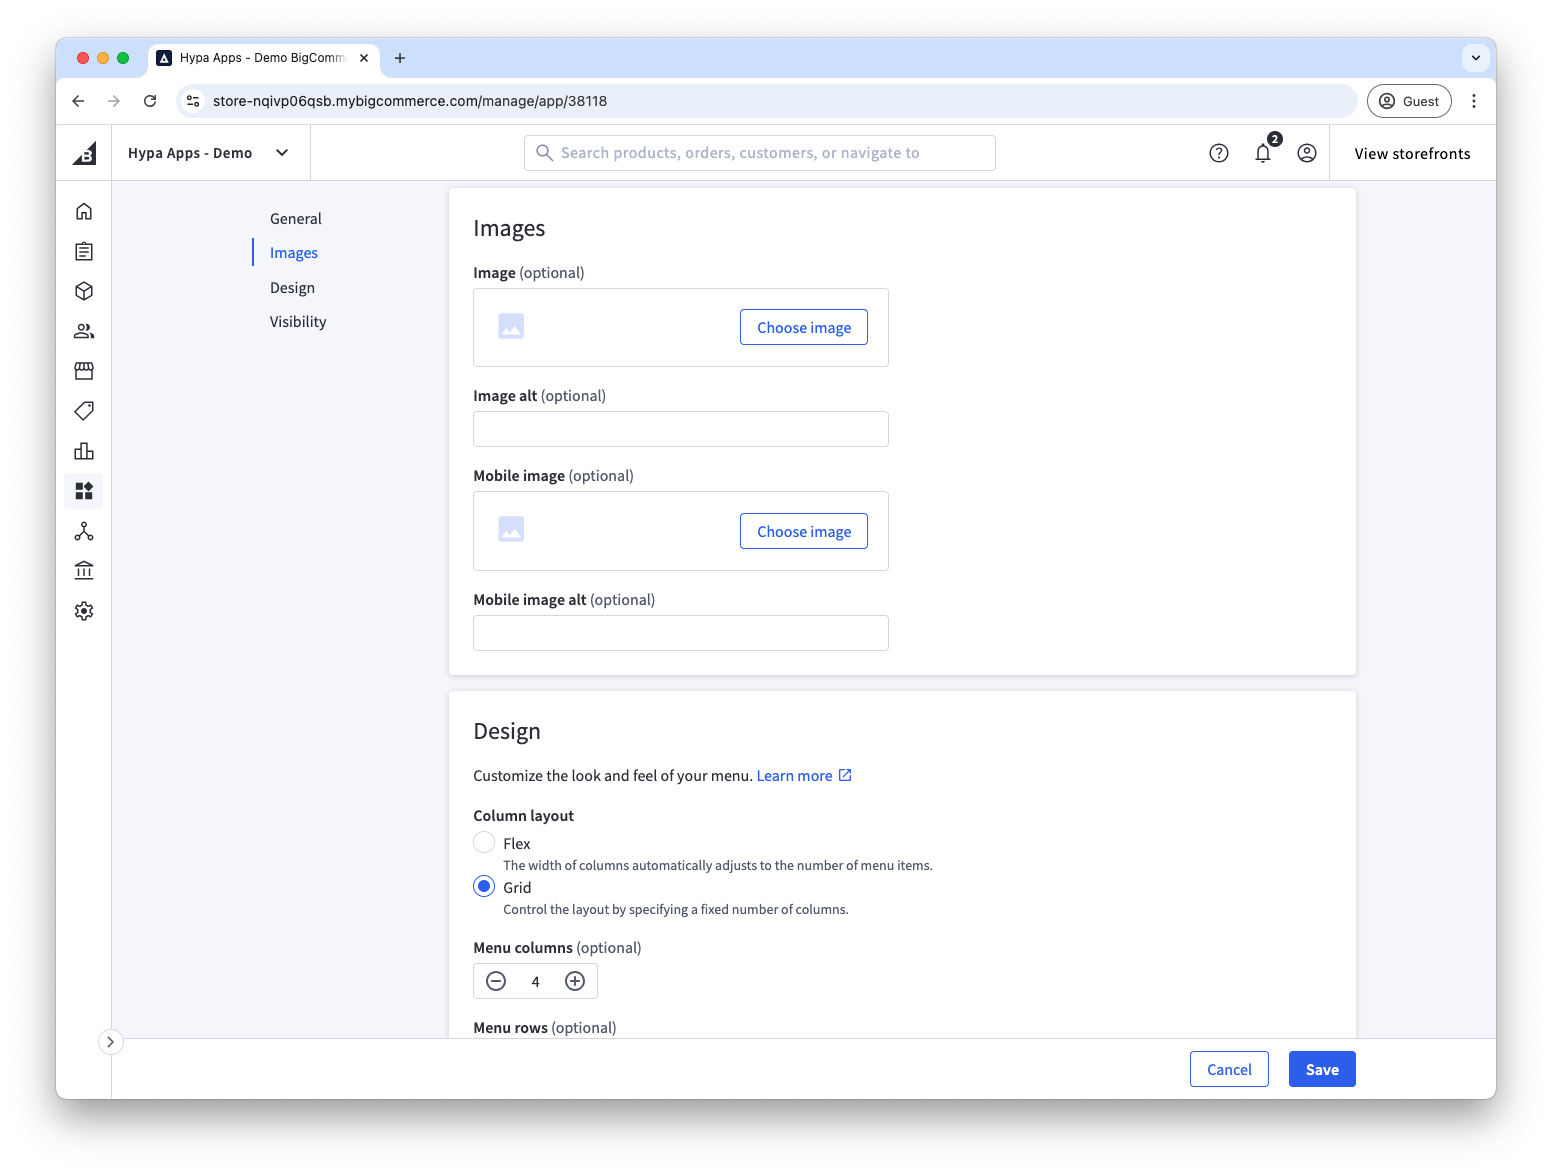
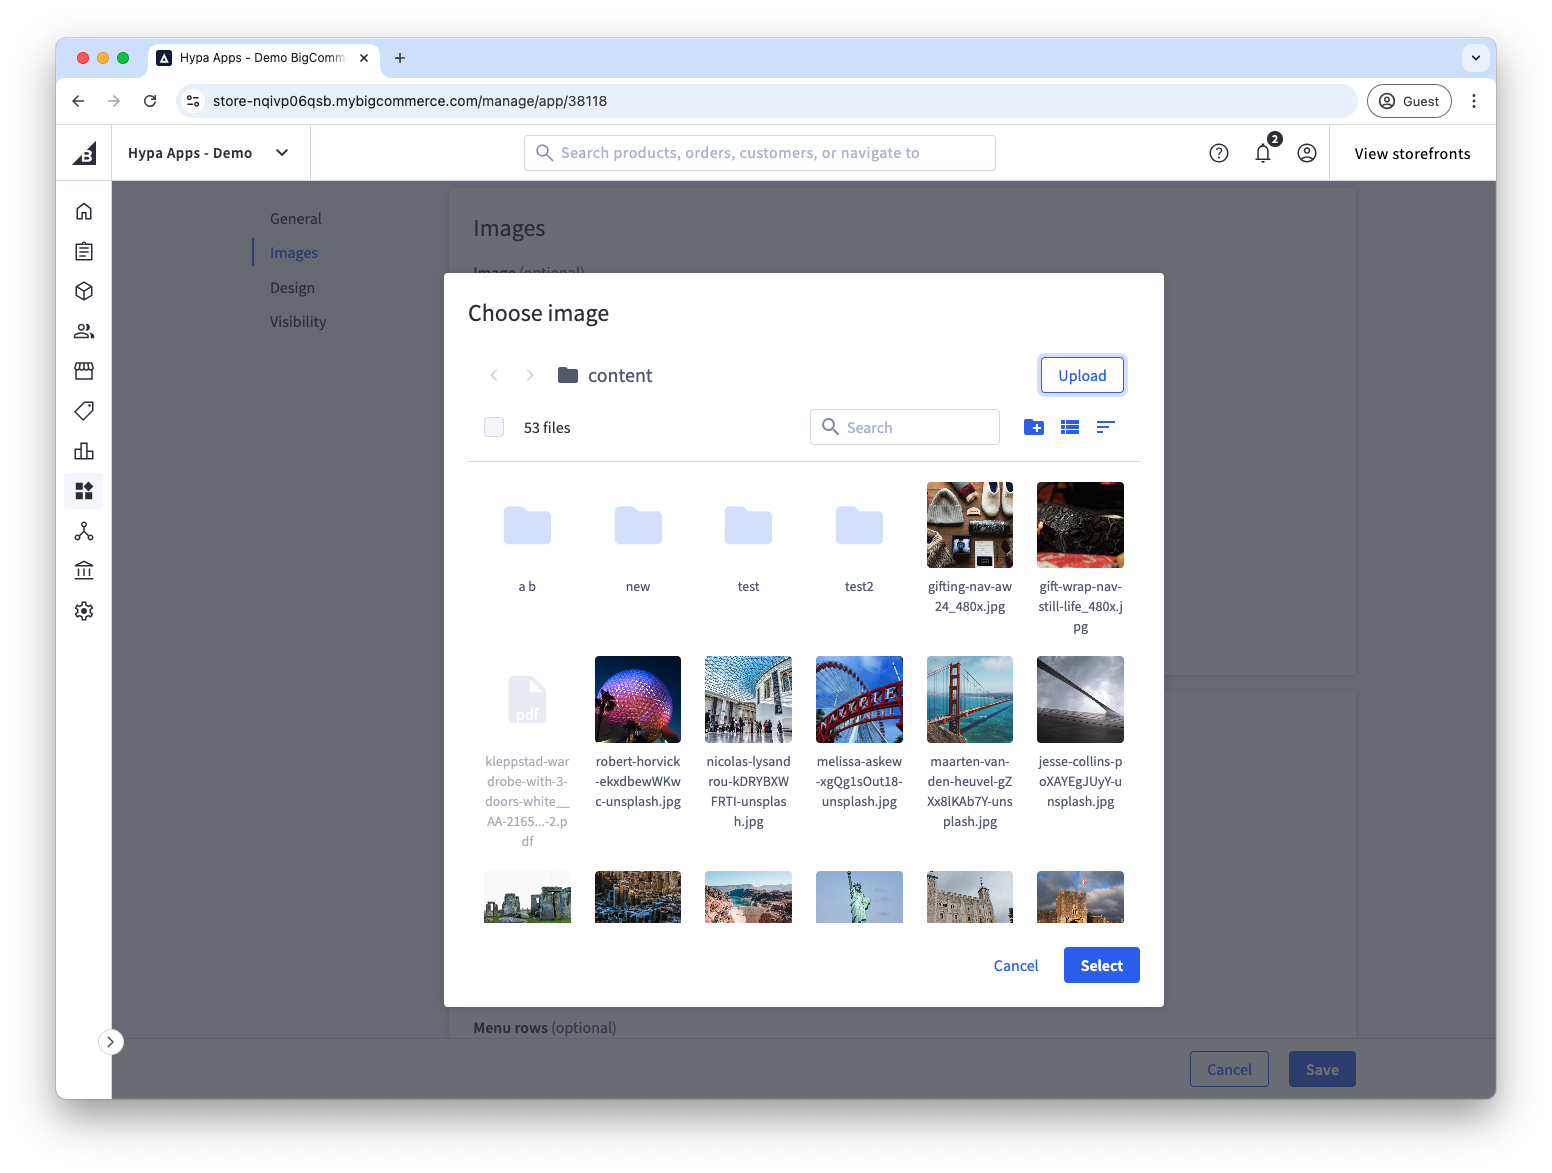
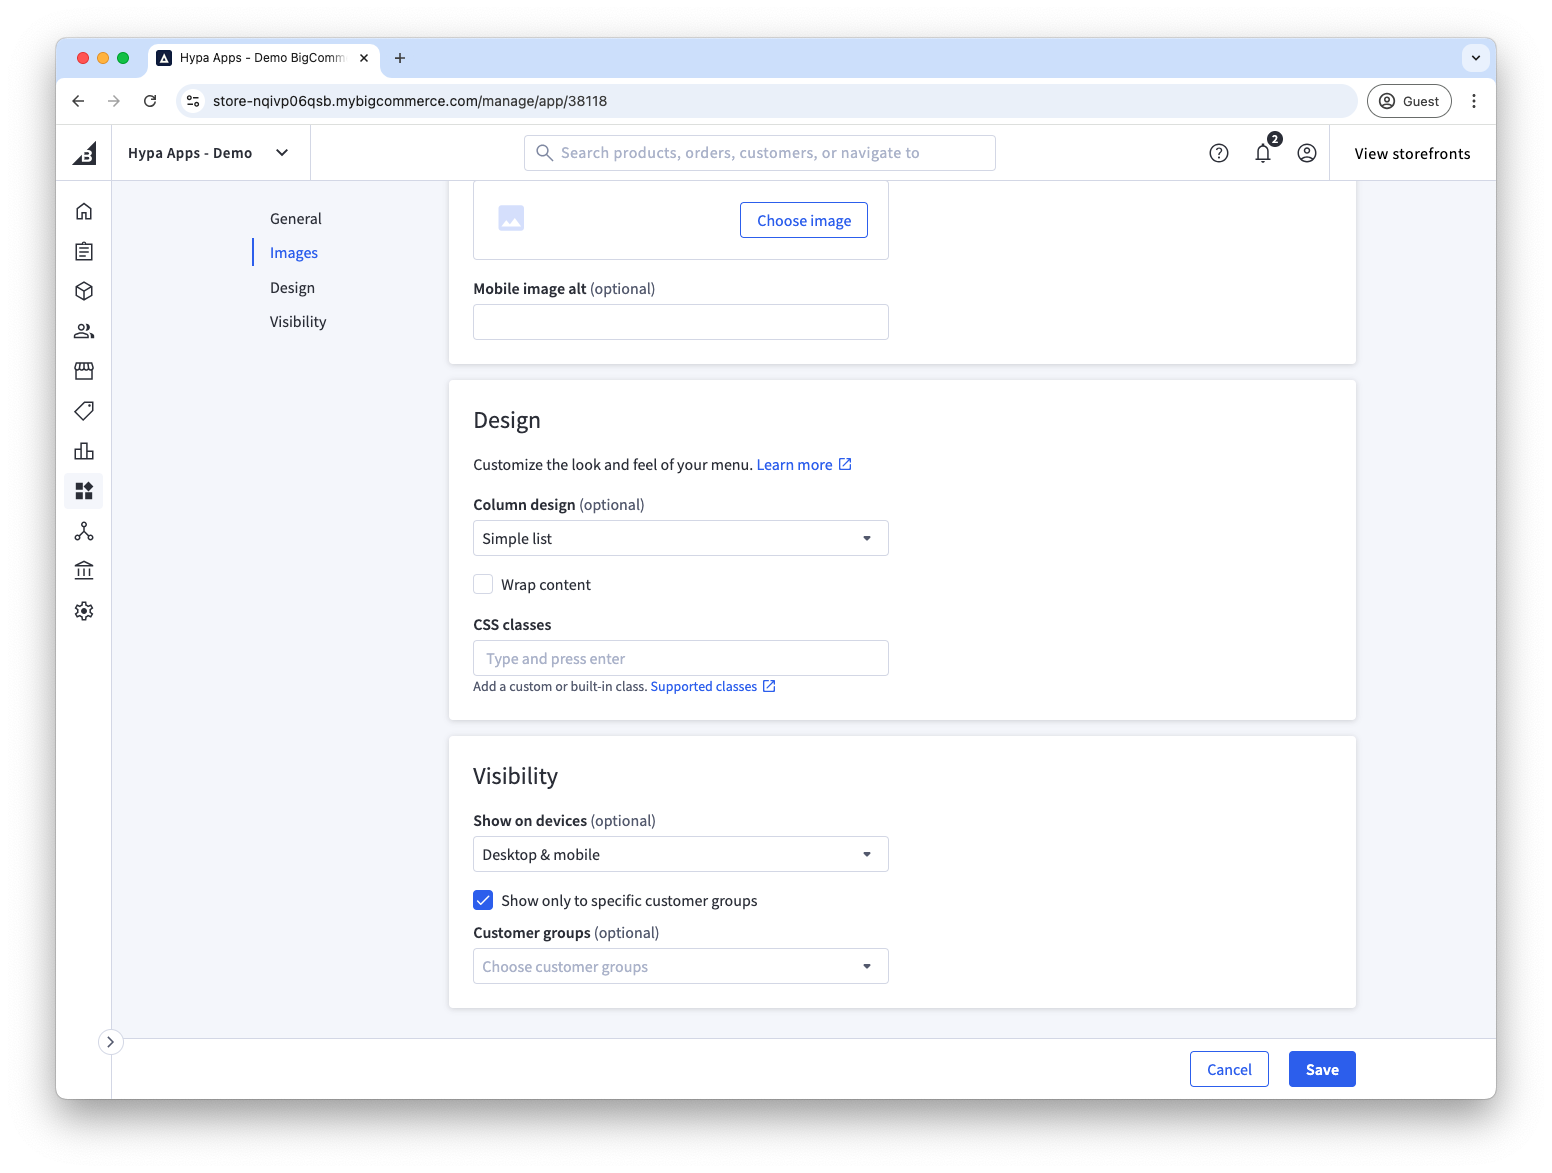
After entering a name and link, you can upload an image. Images appear on second- and third-level items on desktop, and at every level on mobile.
The first time you upload an image, you must provide WebDAV credentials so Mega Menu Builder can store images in your BigCommerce store.
Add CSS classes
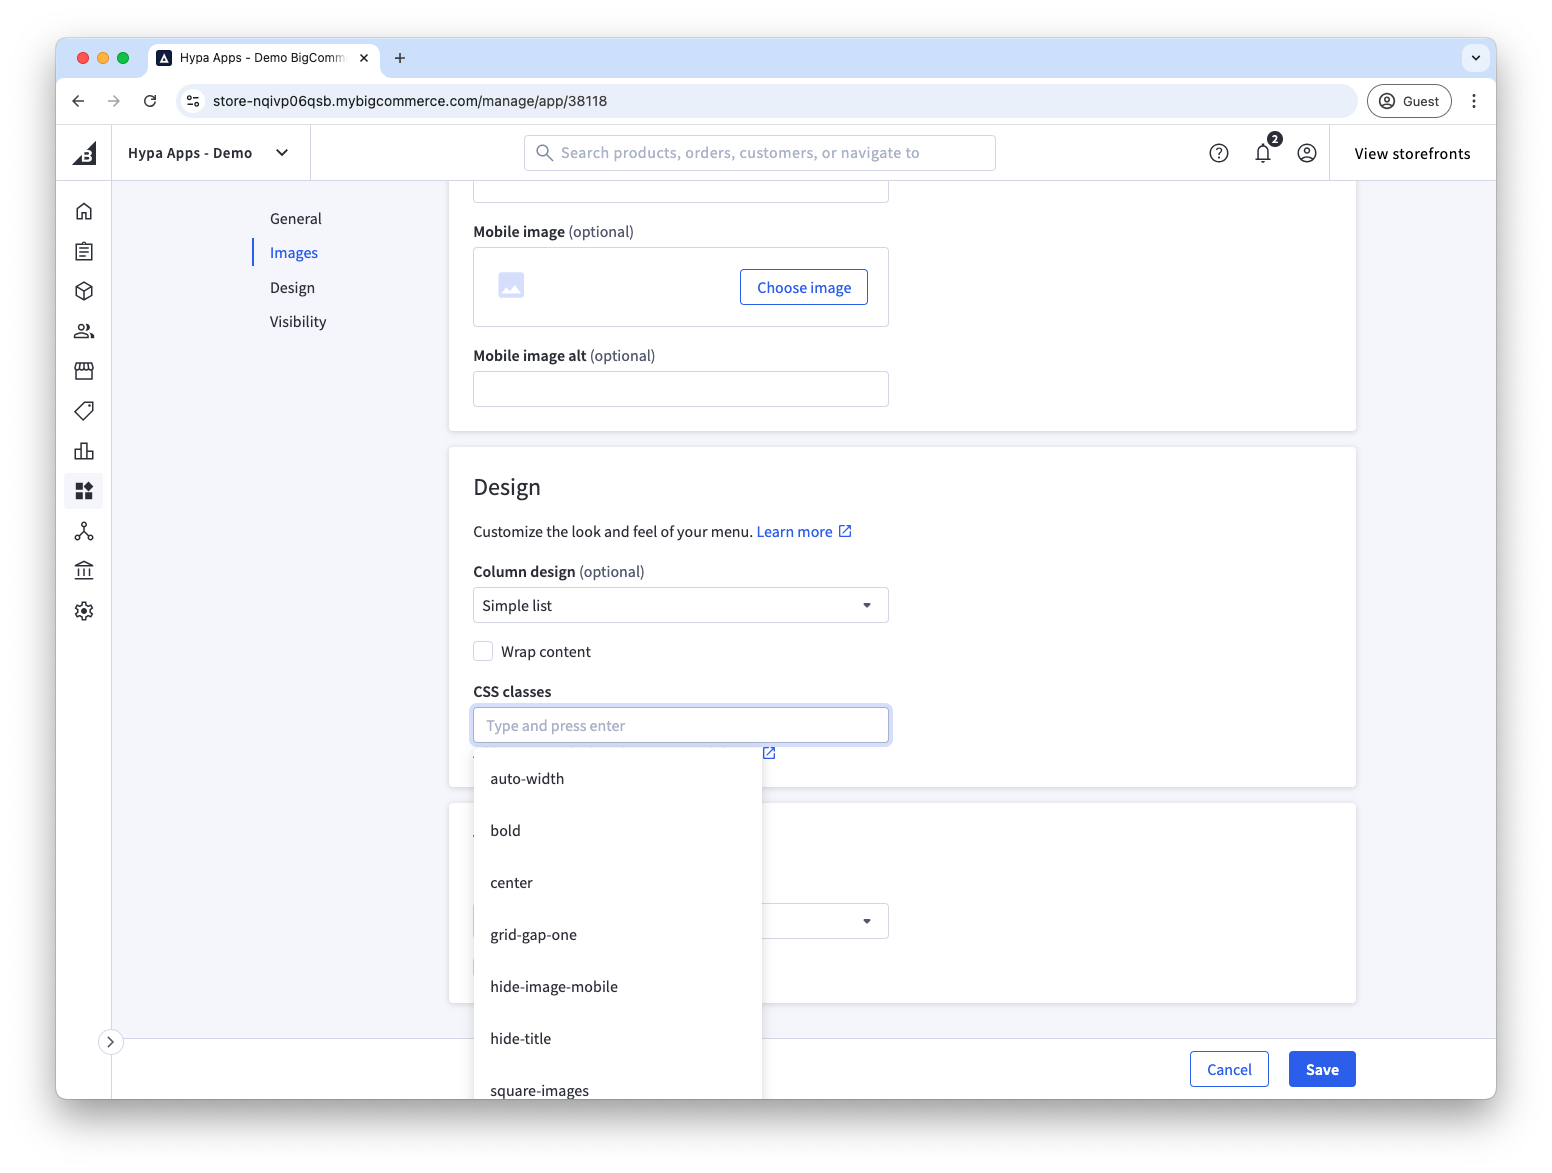
Add CSS classes to apply built-in styling options or target the item with your own theme styles.
Set visibility
You can manage the visibility of the menu item. For instance, you can completely disable it or choose to hide it on certain device sizes. This can be useful if you want to have some menu links that are only available in the mobile menu.
In addition, you can restrict some menu items to only be visible to logged-in customers, or customers from certain customer groups.
Change sort order
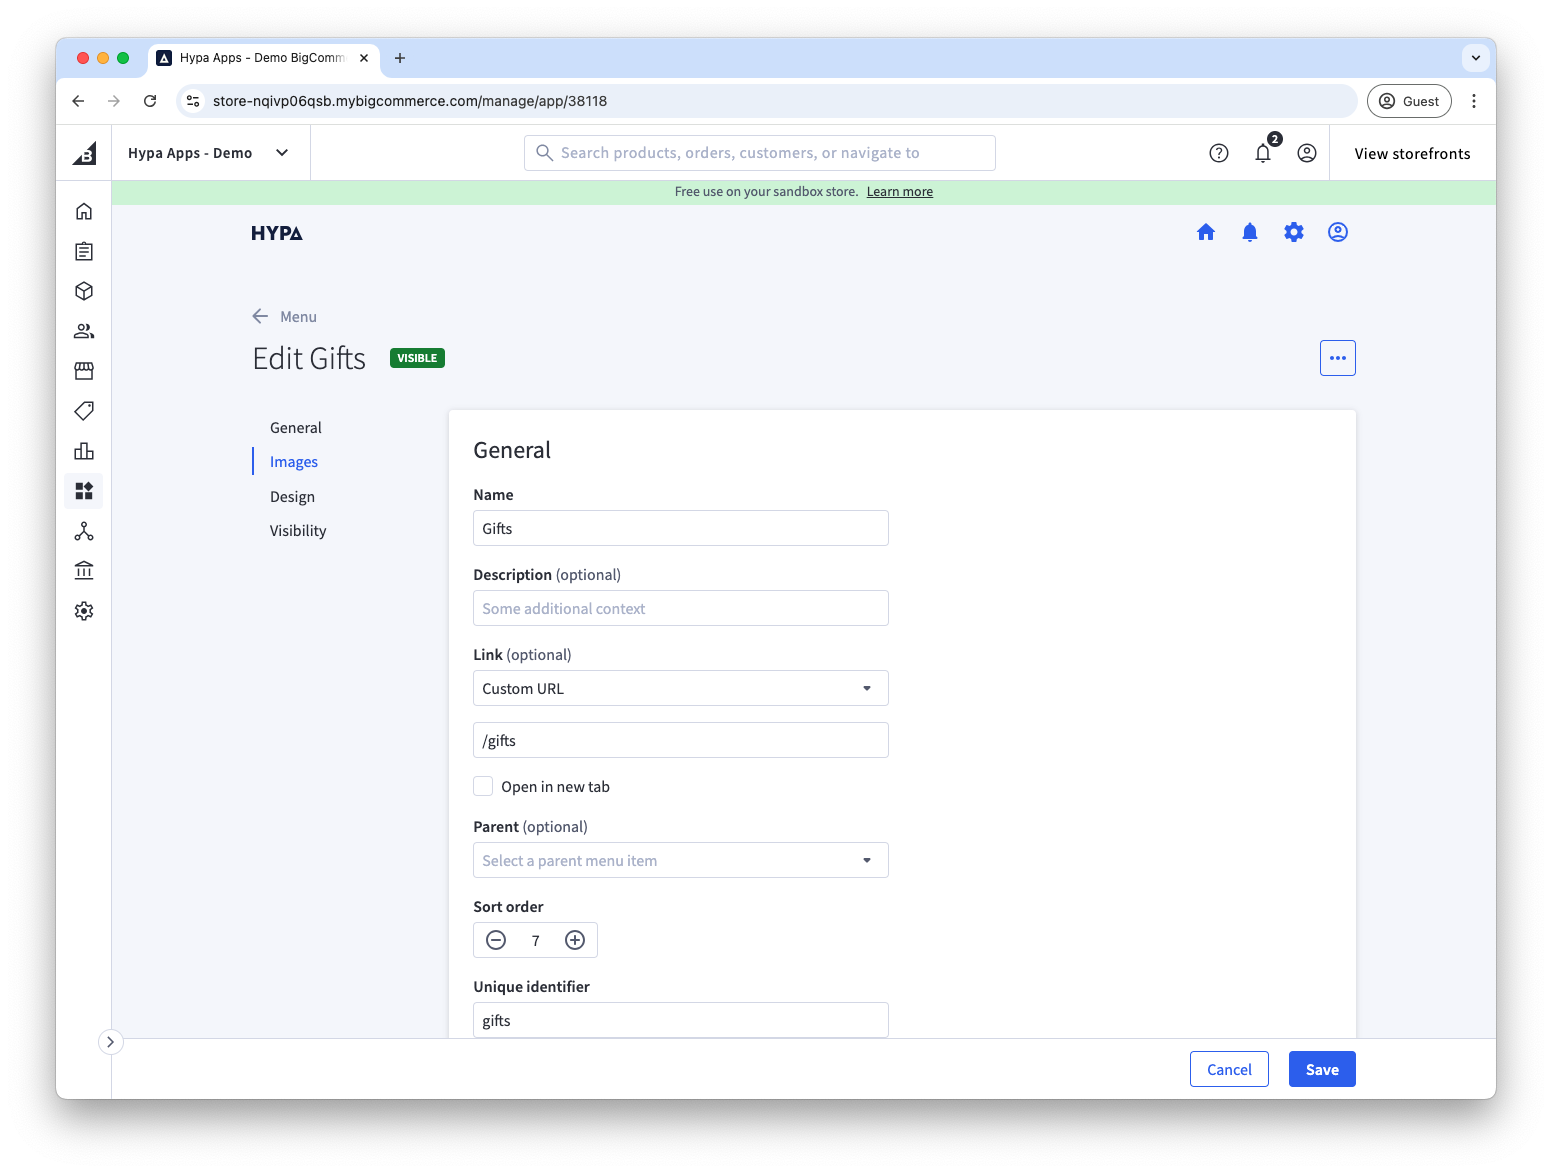
The order of sibling menu items is determined by the number assigned to their "Sort order" field. Menu items are shown in ascending order.
If you would like to reposition a menu under a different parent, then you can select a new parent.
You can also change the order of menu items by dragging and dropping when in the list view.
Choose a menu design option
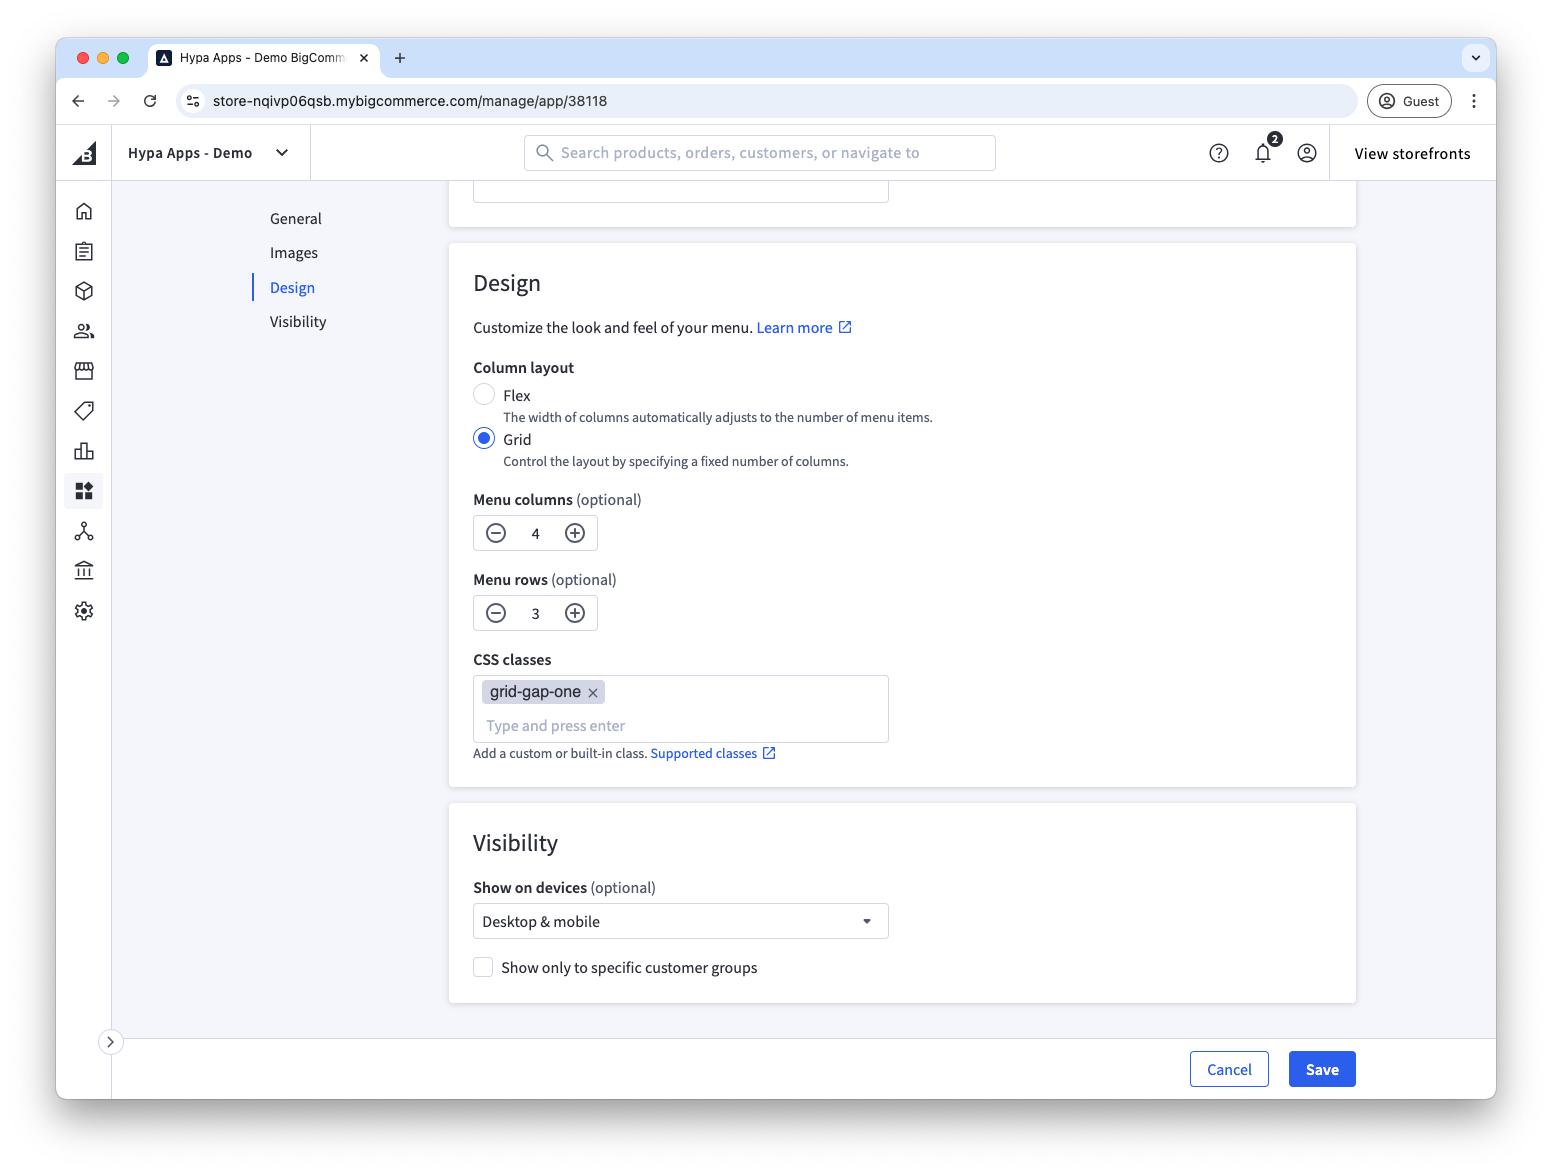
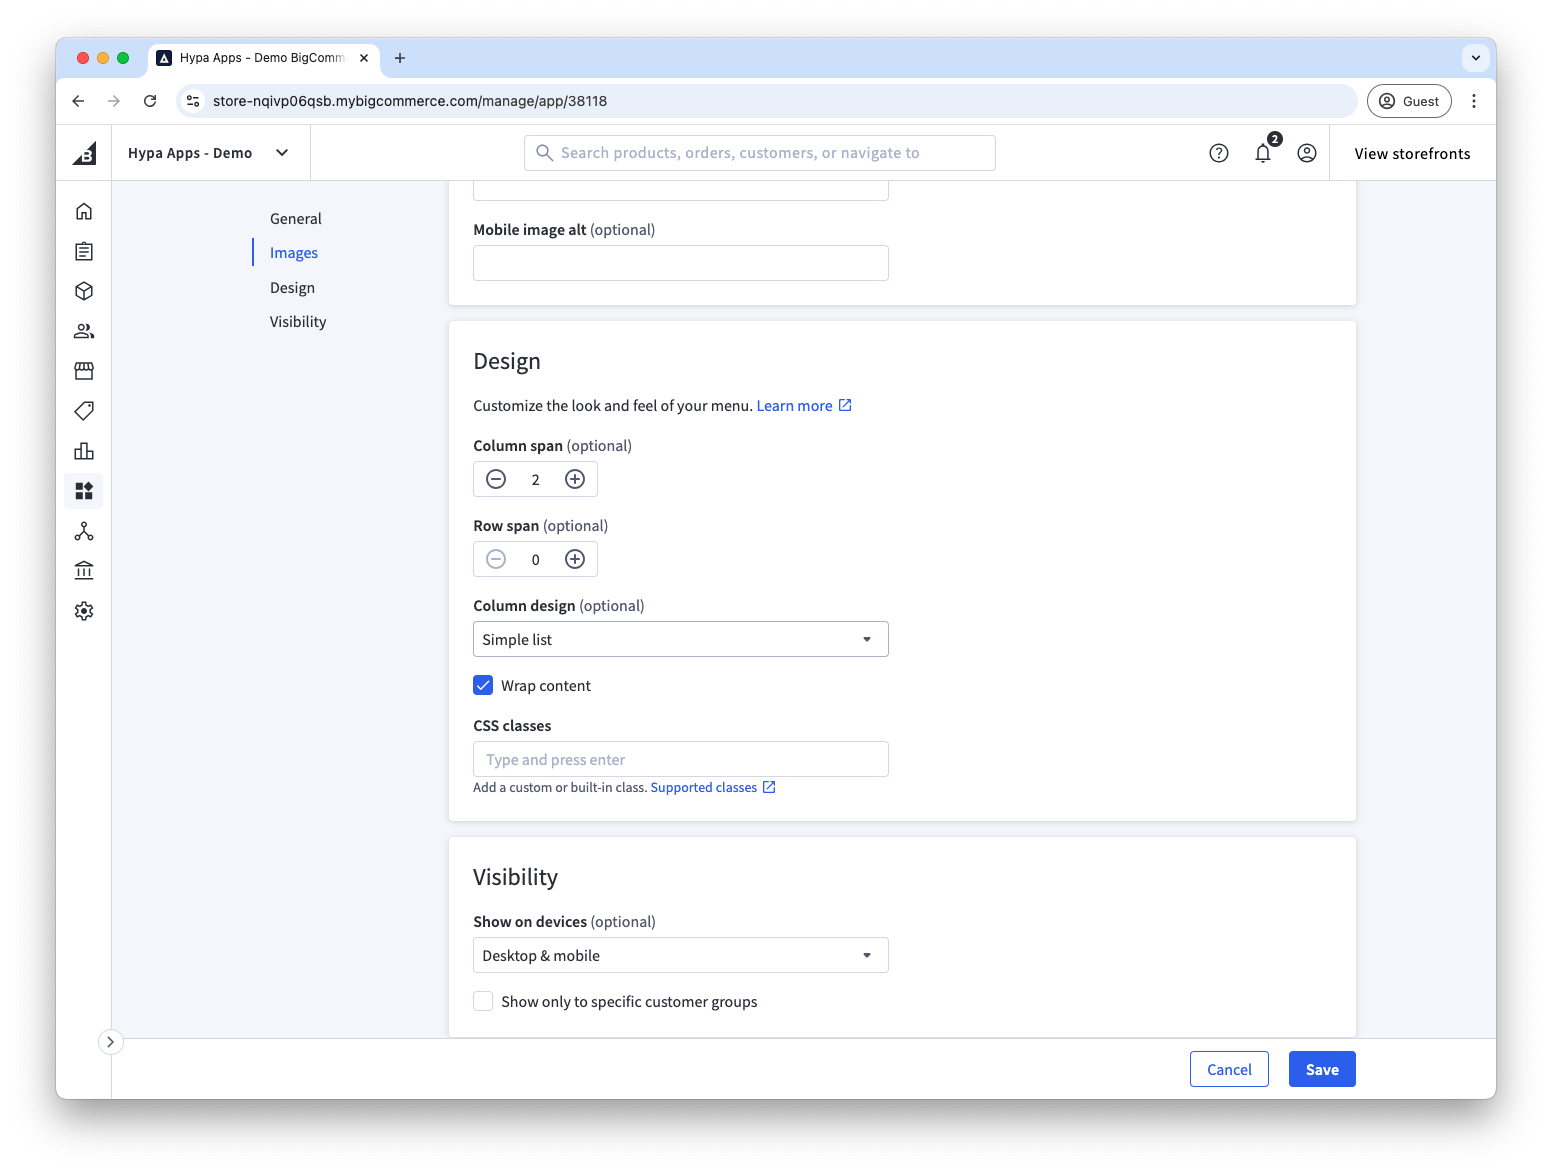
We offer a few different ways to manage how your menu items are displayed, including how columns are spaced, and how each list of menu items should be shown.
See Mega menu design options for full details.
Top-level menu item design options
Second-level menu item design options
After saving your items, add the menu to your storefront with Page Builder.